A darkened user interface will reduce strain on your eyes in low-light conditions and can even help conserve battery power on OLED devices, like the iPhone X/XS smartphone family.
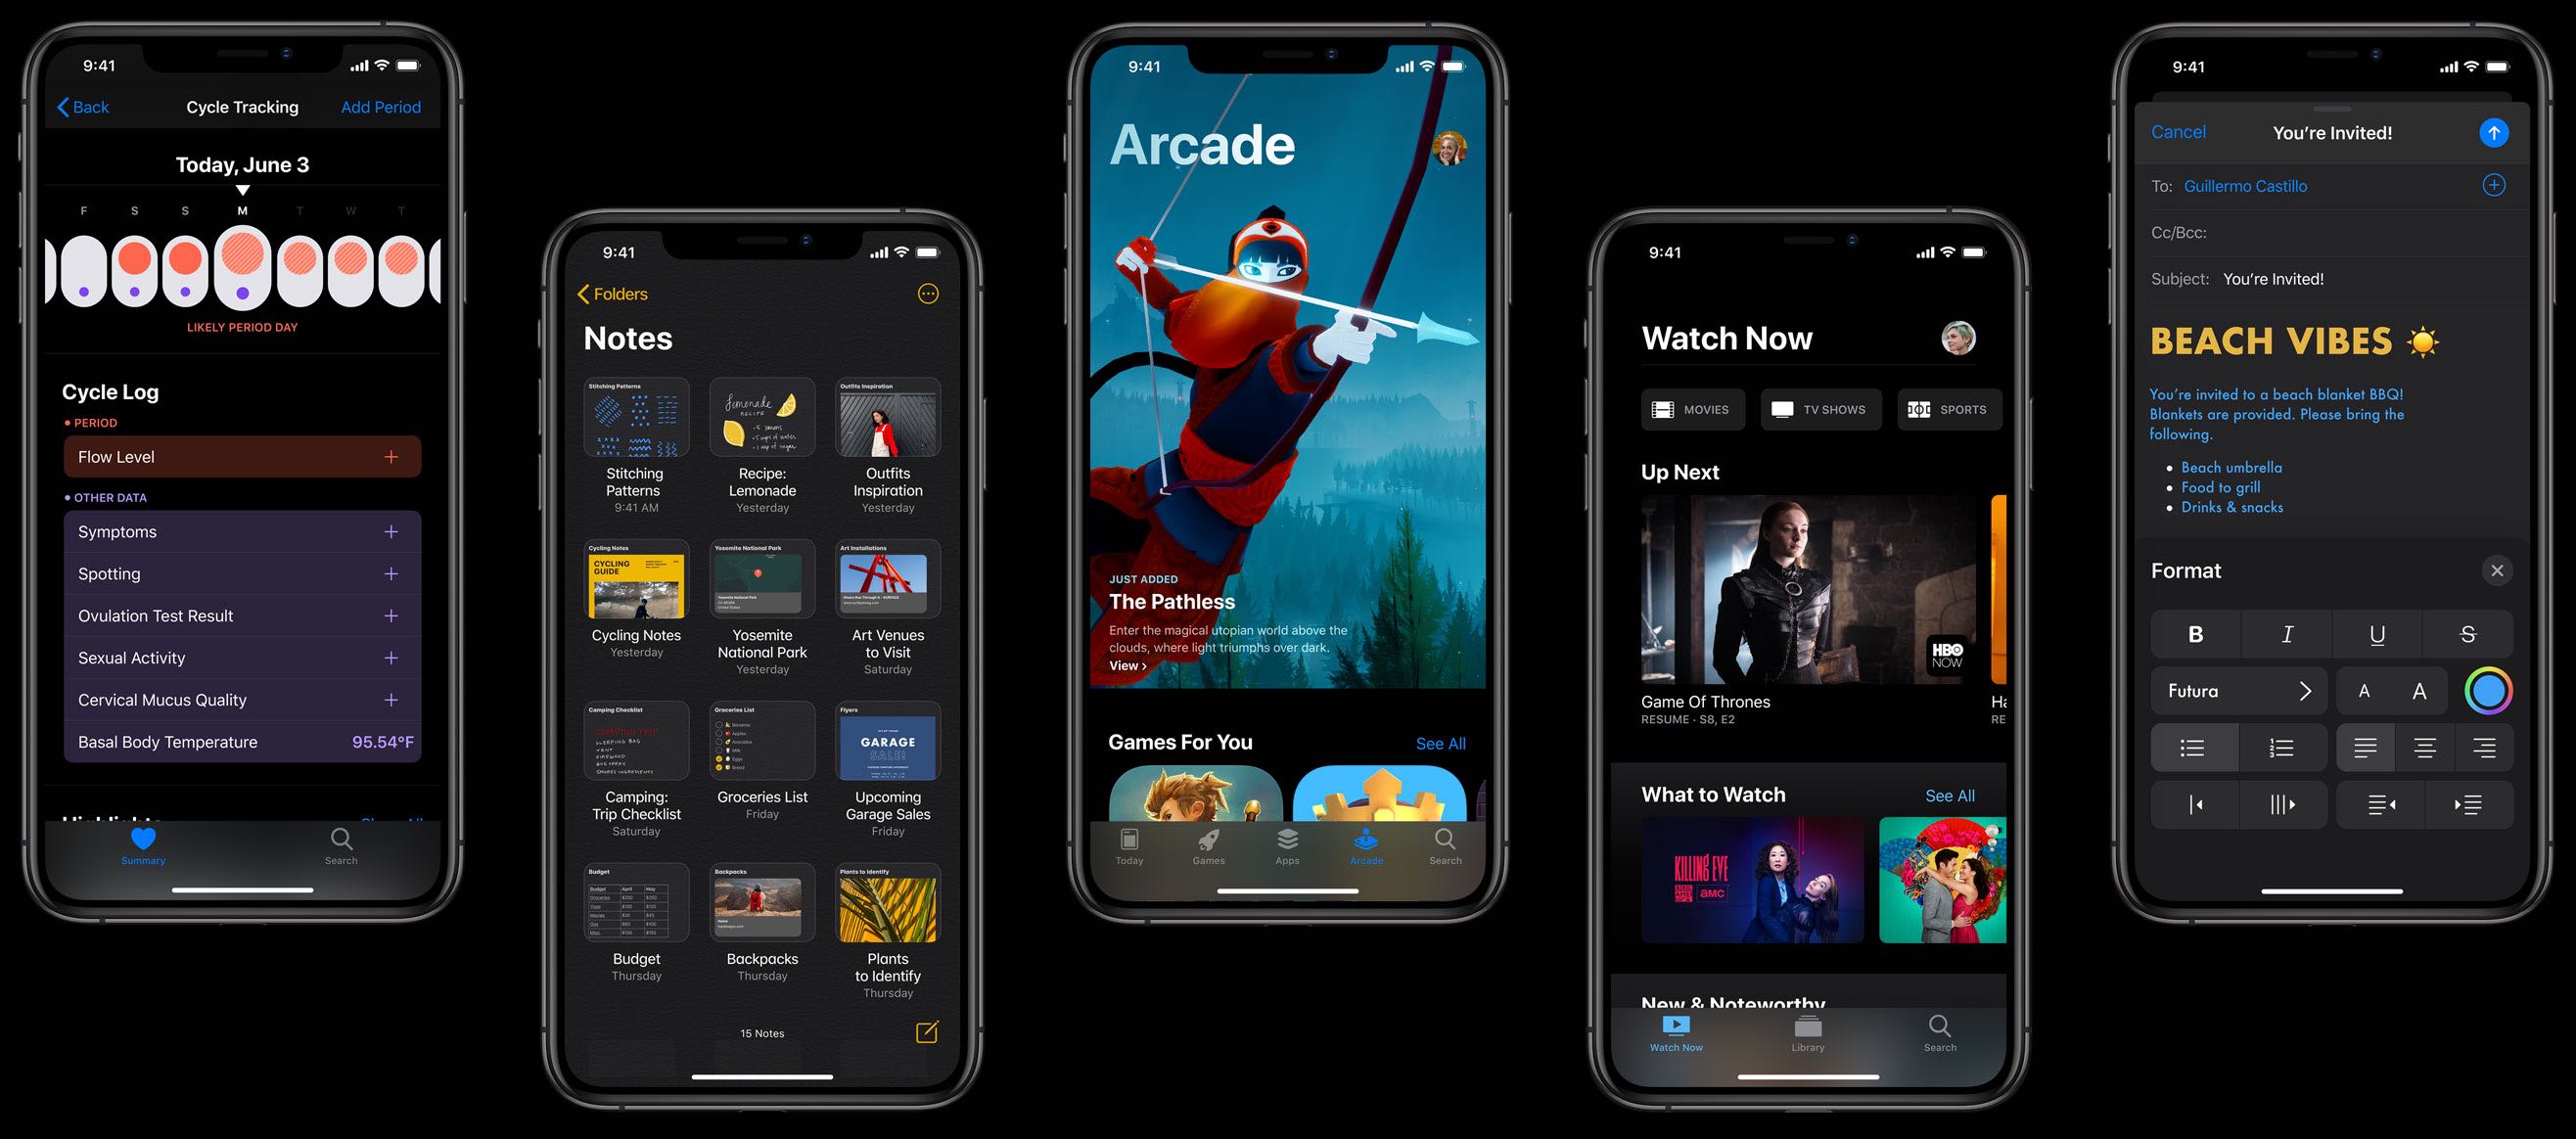
Beginning with iOS 13.0, which was unveiled at Apple’s worldwide developers conference in June 2019, iOS device users can activate a dark system-wide appearance. Called Dark Mode, it uses a darker color palette for all screens, views, menus, controls and backgrounds along with a carefully selected palette of foreground colors.
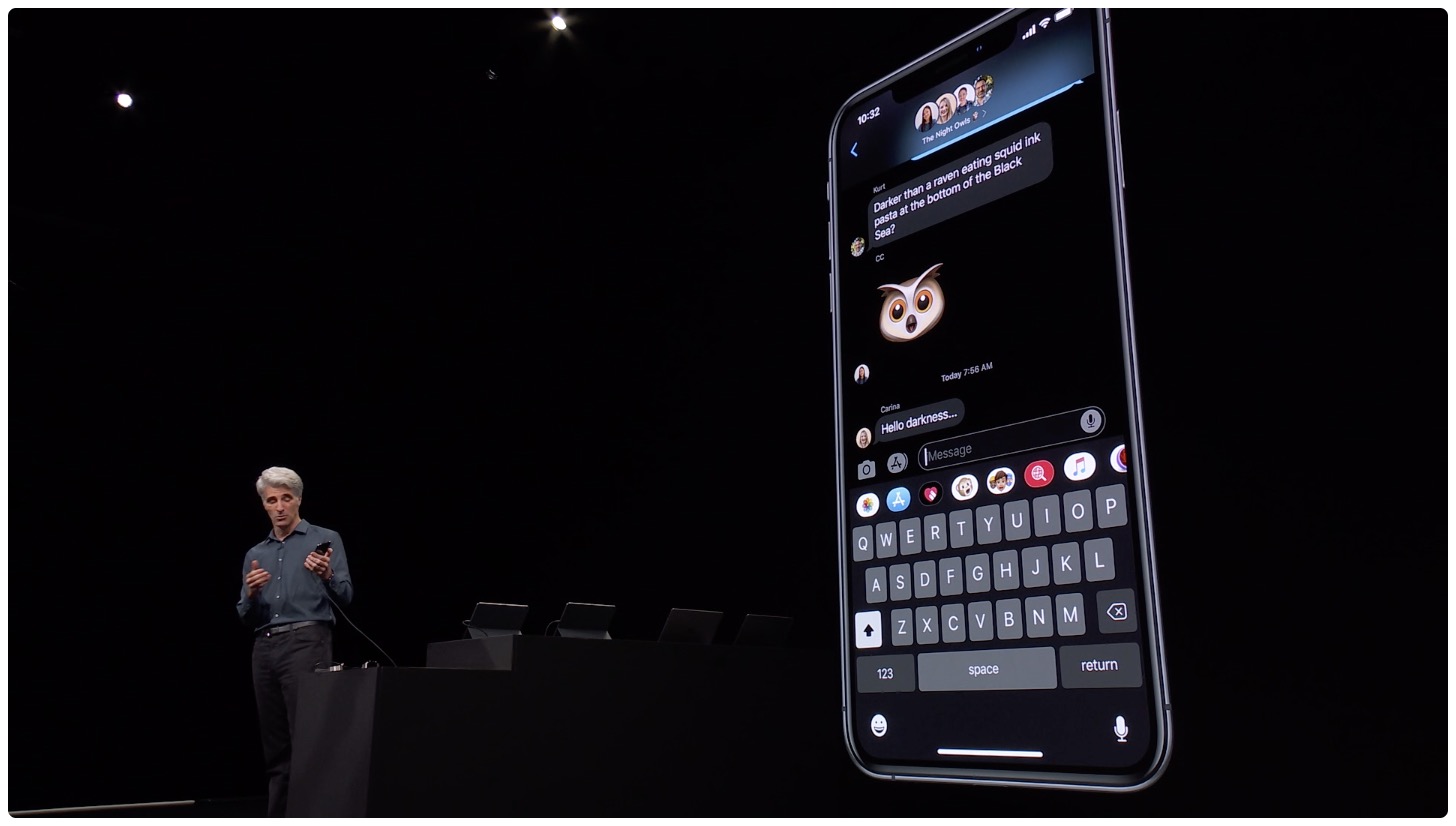
By making foreground content stand out against the darker backgrounds, iOS 13’s Dark Mode improves focus whilst permitting any emphasized content areas of an app’s user interface to stand out while the surrounding interface recedes into the background.
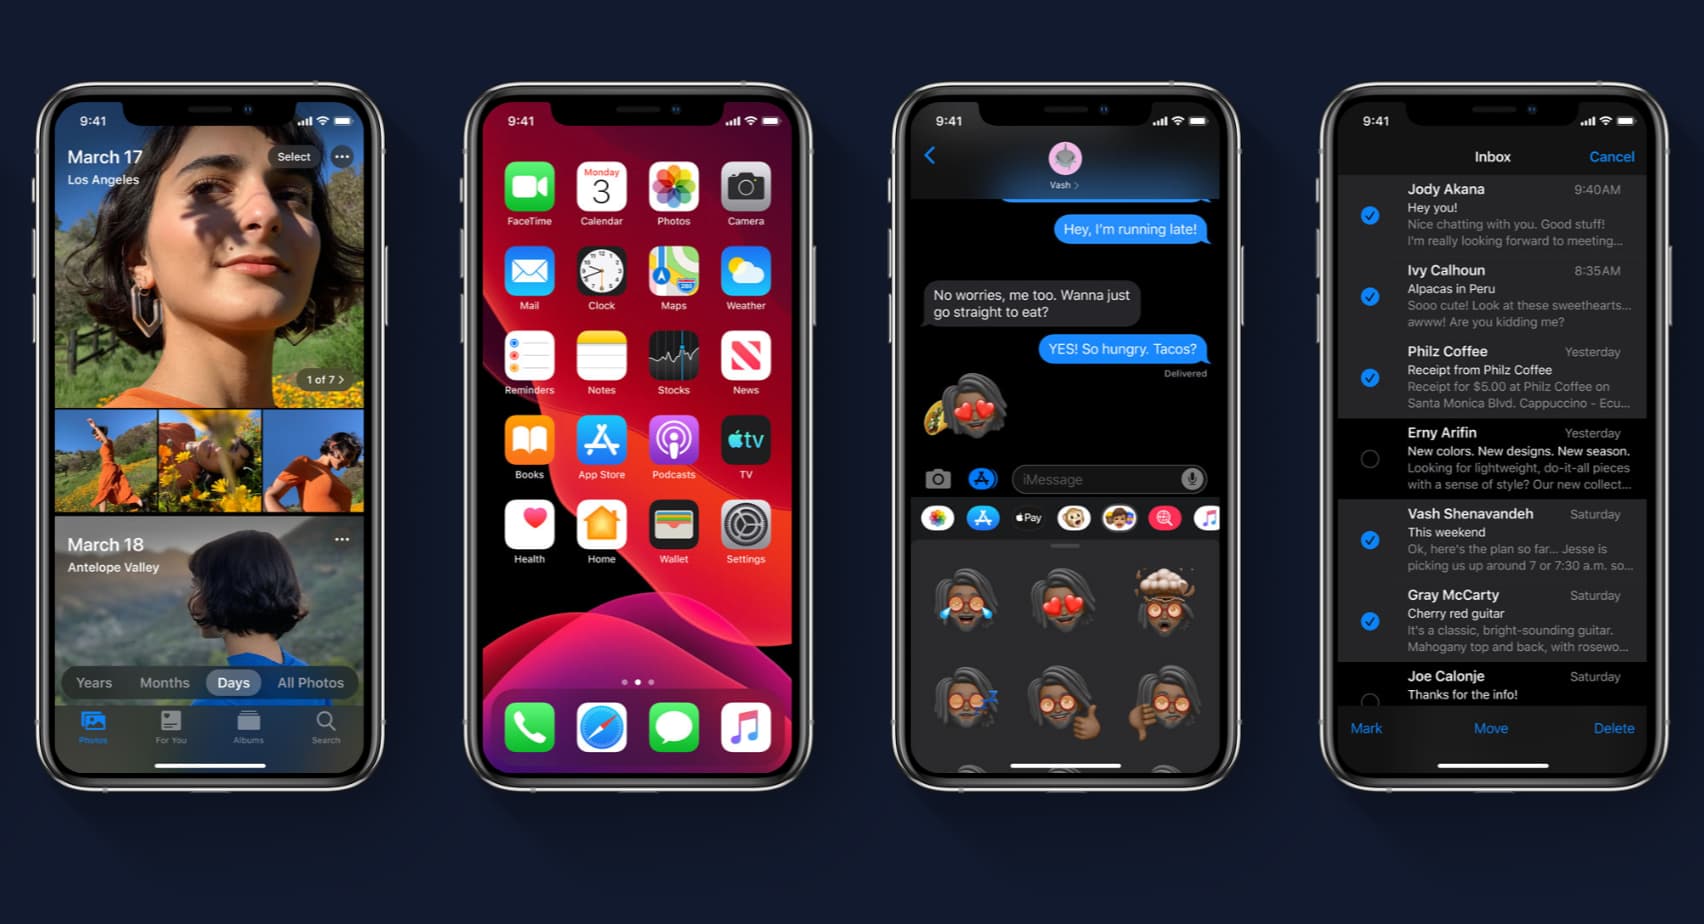
Dark Mode supports all accessibility features and all stock Apple apps in iOS 13. Thankfully, Apple provides an API for third‑party developers to implement Dark Mode in their apps, and many of them already feature Apple’s officially sanctioned Light and Dark themes. It’s especially cool that Apple even created new wallpapers optimized for Dark Mode that automatically change as you switch between Light and Dark appearance.
In iOS 13, you can quickly toggle Dark Mode through Control Center, choose Dark Mode as your default interface style or use Settings to make your iPhone or iPad automatically switch to Dark Mode when ambient light is low or on your own custom schedule.
Follow along as we show you how to use Dark Mode in iOS 13.
How to use Dark Mode on iPhone and iPad
As mentioned, you can enable Dark Mode in Control Center or Settings.
Enabling Dark Mode through Control Center
To quickly cycle between Dark and Light modes, do the following:
1) Swipe down from the top-right corner of the screen to invoke Control Center.
2) Tap and hold the Brightness slider.
3) Tap the button Appearance to cycle between Dark and Light mode.
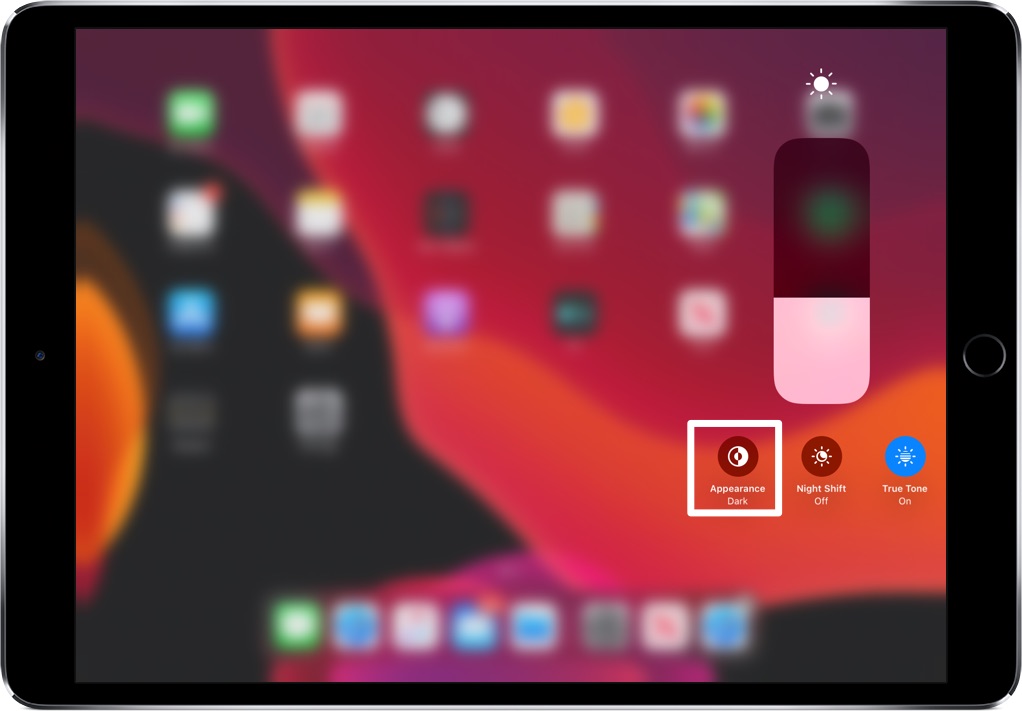
This is the quickest way to turn Dark Mode on or off. As such, you may want to use this toggle to quickly enable Dark Mode when you enter a dark room or theater.
To adjust a Dark Mode schedule, use the Settings app.
Enabling Dark Mode in Settings
To enable Dark Mode in Settings, follow the steps below:
1) Open the Settings app.
2) Choose Display & Brightness from the root list.
3) Tap Dark underneath the heading Appearance.

To switch back to the default Light Mode, tap Light in the Appearance section.
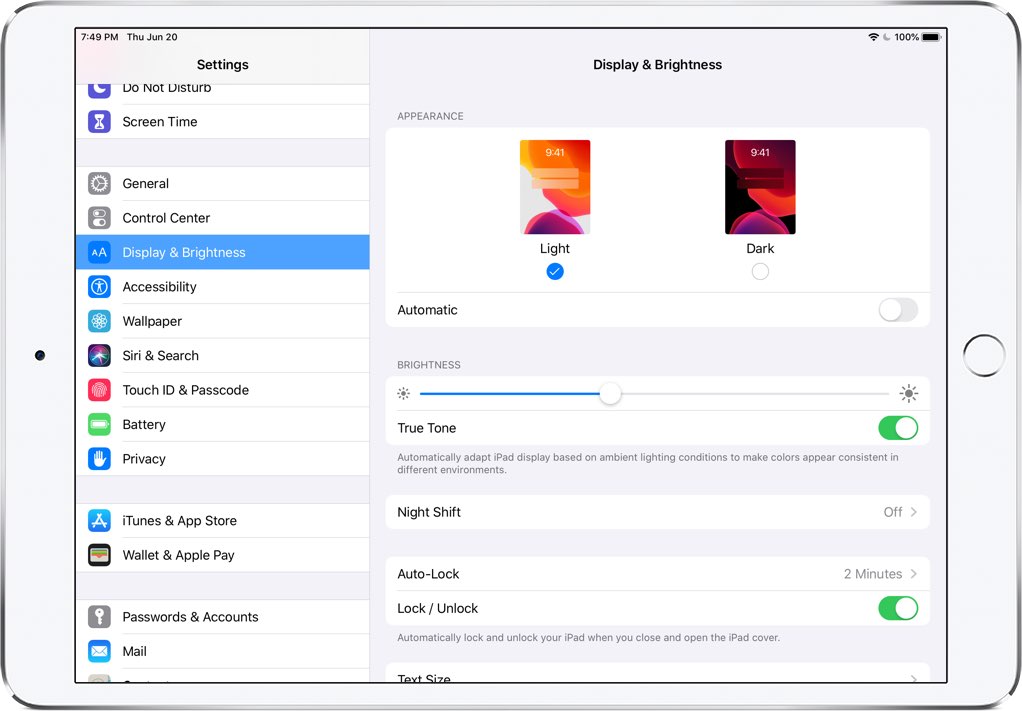
If you prefer some flexibility and automation, use the toggle next to Automatic to have your device optionally switch between Dark and Light themes automatically.
Enabling scheduled Dark Mode
You can have iOS 13 toggle on Dark Mode on a schedule or automatically as the sun sets down, as determined by your current time zone and biographical location.
1) Open the Settings app.
2) Choose Display & Brightness from the root list.
3) Slide the switch Automatic at the bottom of the Appearance section to the ON position.
4) Doing so will reveal a new section below the Automatic option, titled Options. Tap the entry to go to a new screen where you can customize a Dark Mode schedule to your liking.
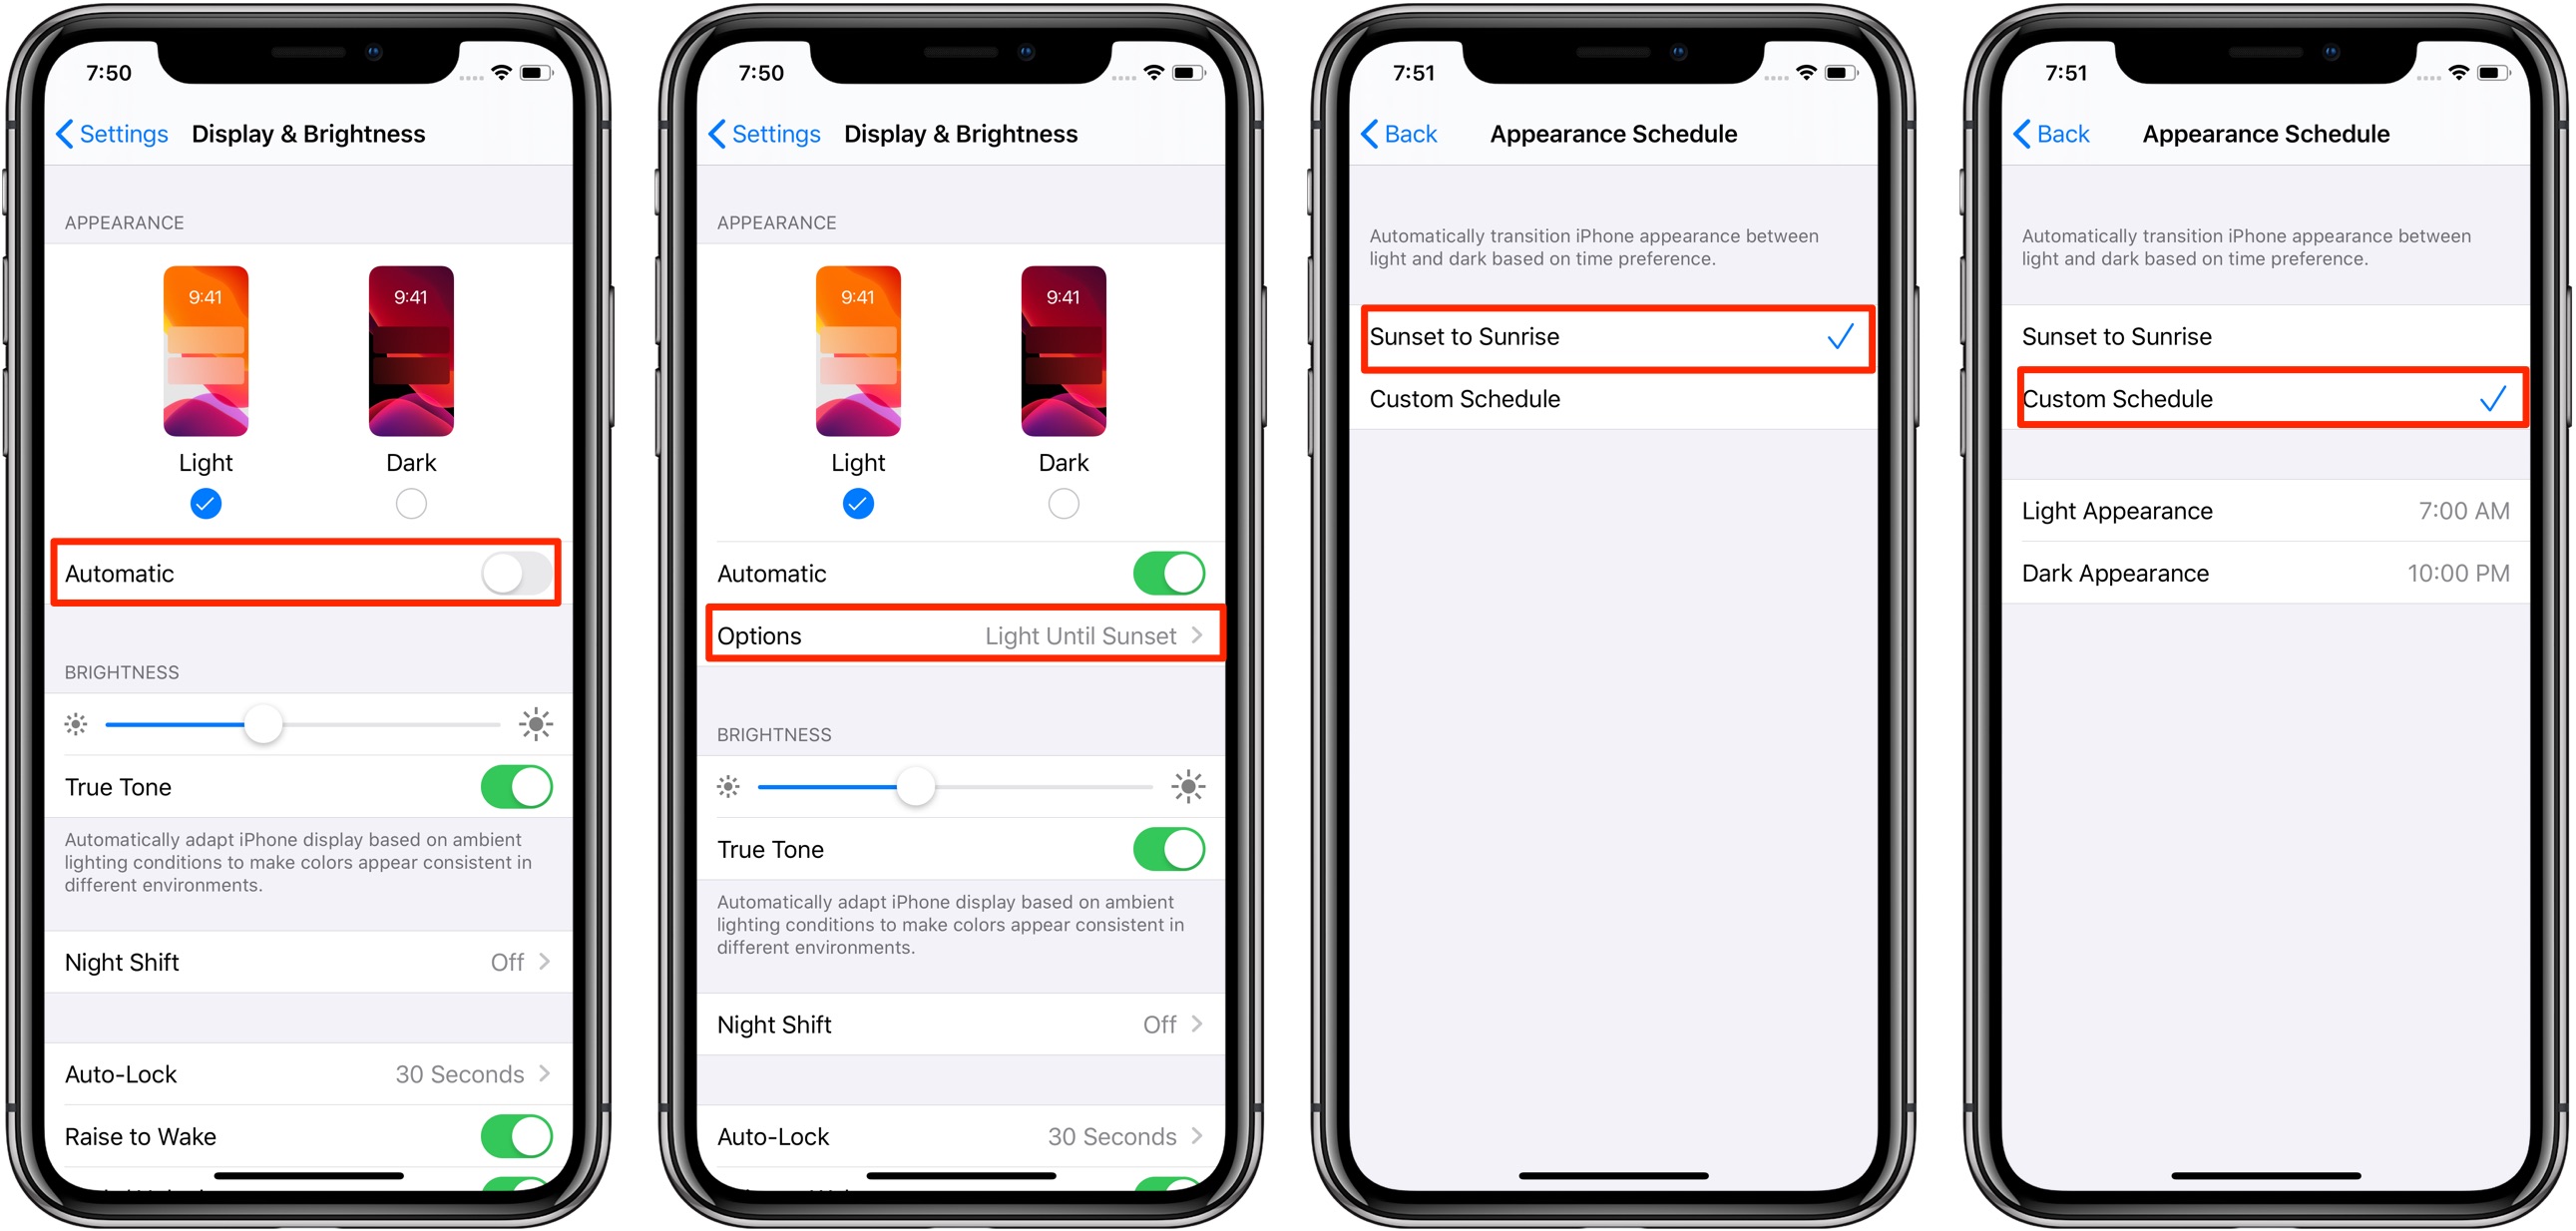
Use scheduling when you’re outside at night or using your device before going to bed.
5) Customize your Dark Mode schedule:
- Sunset to Sunrise: Select this to have your iPhone or iPad automatically switch between Light and Dark Modes based on your current time zone and time of day.
- Custom Schedule: Tap Light Appearance to define when the device should turn on Light Mode. To have an iPhone or iPad automatically toggle on Dark Mode at a specified time, tap Dark Appearance and make your choice.
And that’s all you need to know about Dark Mode in iOS 13.
iOS 13 compatibility and availability
iOS 13 is compatible with the following Apple smartphone models:
- iPhone XS
- iPhone XS Max
- iPhone XR
- iPhone X
- iPhone 8
- iPhone 8 Plus
- iPhone 7
- iPhone 7 Plus
- iPhone 6s
- iPhone 6s Plus
- iPhone SE
- iPod touch (7th generation)