iOS 11 and macOS High Sierra debuted HEIF, Apple’s new efficient image format meant to supplant JPEG by delivering the same or better quality at half the file size. That’s great, but what about converting your HEIF photos into the more compatible JPEG format?
This tutorial has the answers…
When you update to iOS 11, the Camera app automatically switches to HEIF capture.
As a result of this change, many iOS 11 users have been shooting HEIFs without even being aware of it. This may not be concerning until you transfer your shot-on-iPhone photos to a Mac or PC only to realize you’re seeing a bunch of files with the HEIC extension, not JPEGs.
Thankfully, both iOS 11 and macOS High Sierra automatically convert any shared HEIFs to JPEGs on the fly, but only if you send them through Apple’s multi-purpose Share sheet.
Compatibility-wise, this is exactly how it should be.
But what if you’re stuck with a bunch of HEIF photos that you’d like to convert to the ubiquitous JPG format for safekeeping? Or, maybe you want to import your HEIFs into an app that doesn’t work with Apple’s new format yet? Better yet, what about uploading HEIF images to a social media site of your liking via the web interface, bypassing the Share sheet?
In all those instances, you’ll need to convert your HEIF photos into the JPEG format.
As one of our earlier tutorials has explained, you could download the free iMazing HEIC Converter app to perform the HEIF → JPEG conversion by way of drag and drop.
Thankfully, you don’t even need a third-party app for that.
How to convert HEIF images into JPEG format with macOS Preview
If you’re in a hurry or don’t want to download any special software, you can simply run the image conversion through macOS’s built-in Preview app. Keep in mind that you’ll need macOS High Sierra for that because Preview on earlier macOS editions cannot read HEIF images.
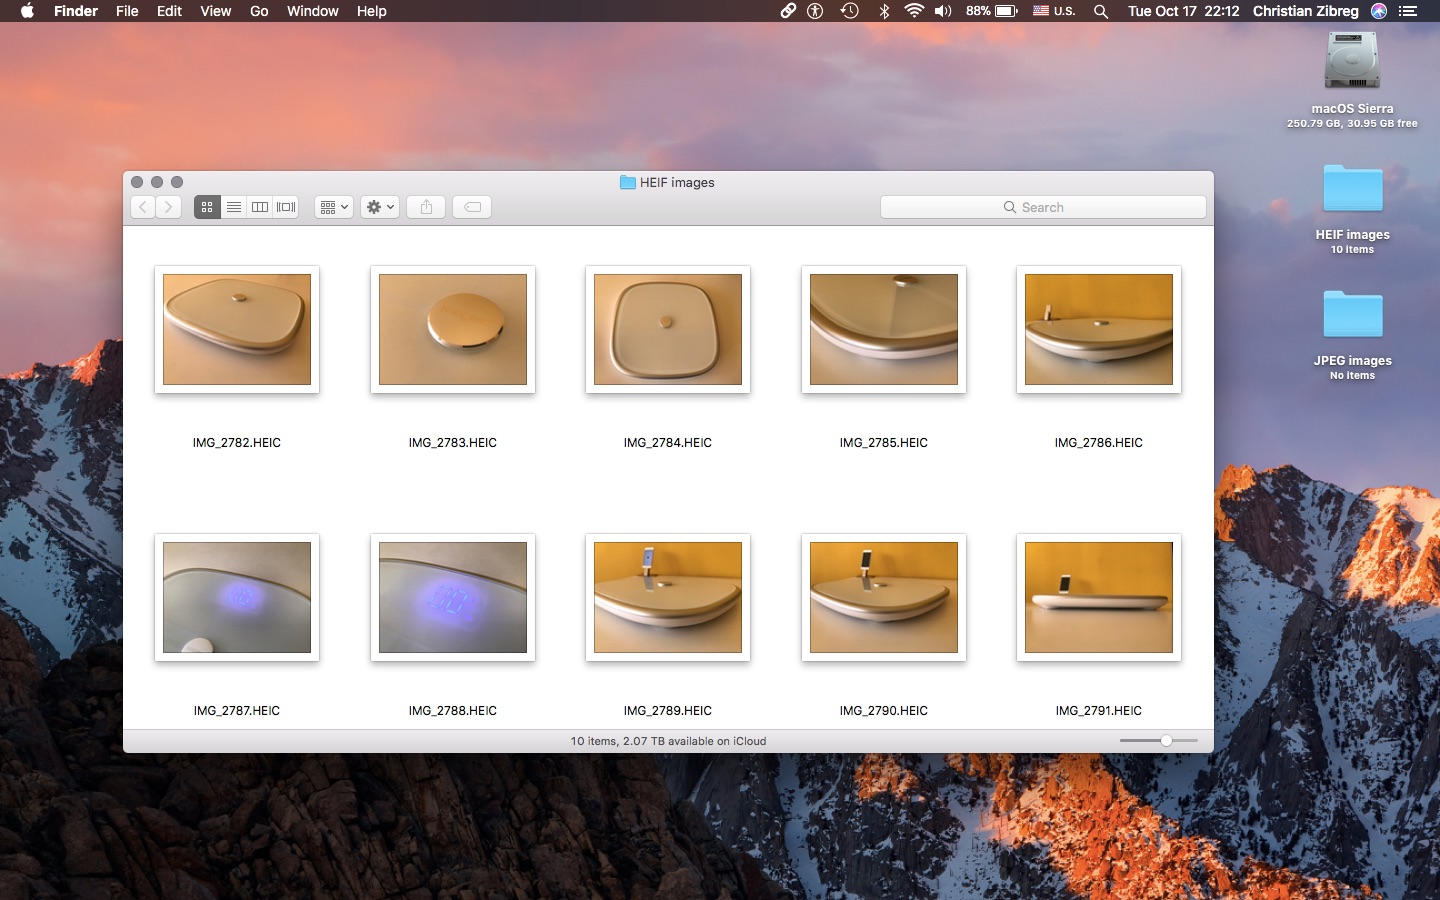
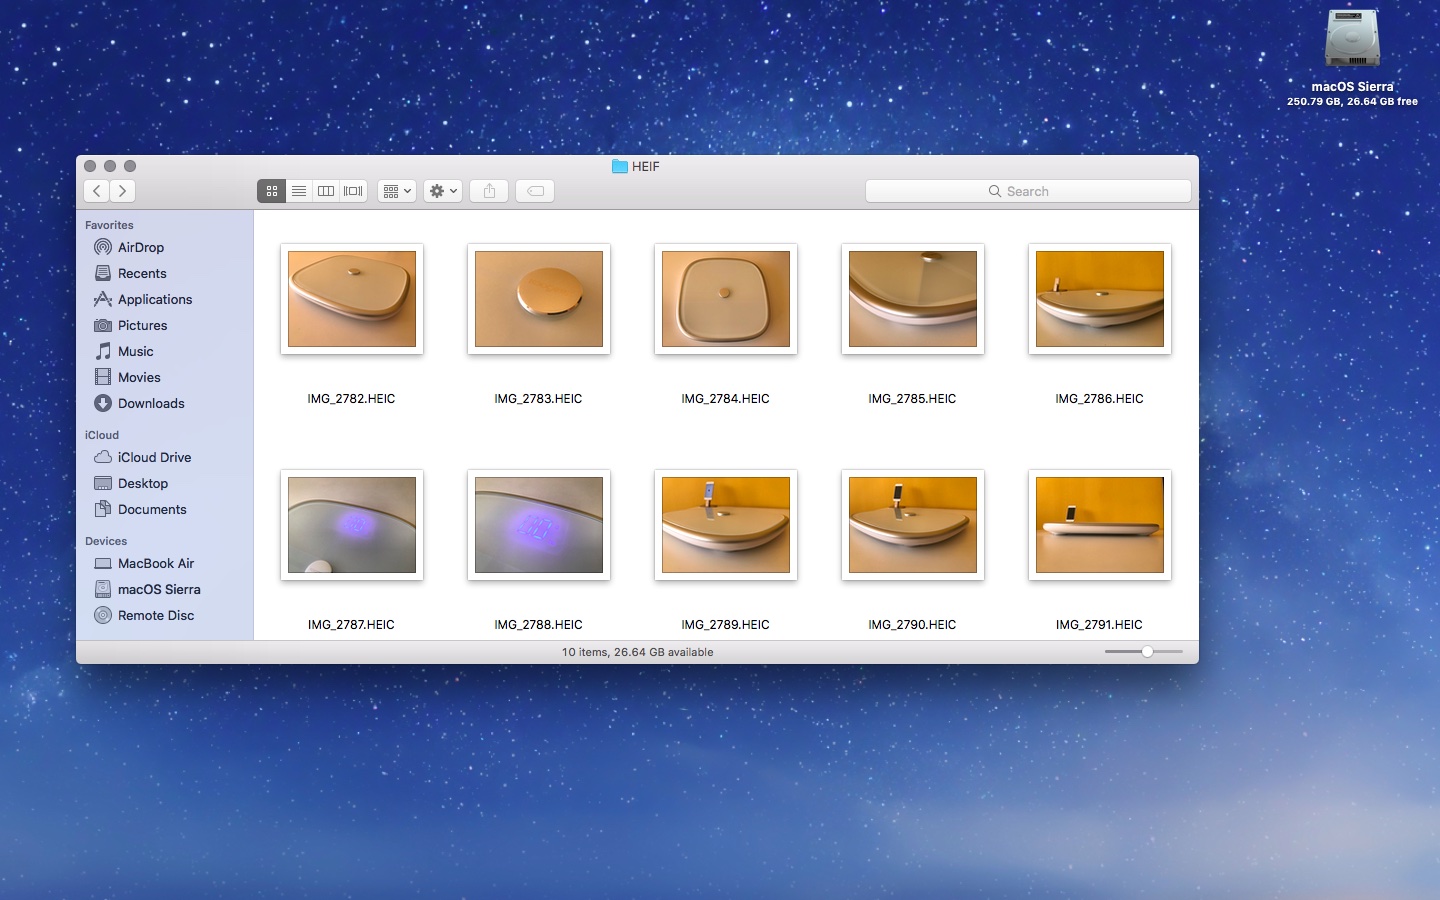
1) In the Finder, open the folder containing the HEIF images you’d like to convert to the more widely-used JPEG format.

You can recognize HEIF image files by their HEIC extension.
2) Command (⌘)-click specific HEIF items you’d like to convert, or select everything in the folder by pressing Command (⌘)-A or choosing Select All from the Finder’s Edit menu.

3) Right-click or Control (⌃)-click one of the highlighted HEIF files in the Finder, then choose Open With → Preview from the popup menu.

4) Your highlighted HEIC photos will open in Apple’s stock Preview app.
TIP: If you don’t see any thumbnails in the Preview sidebar, press Option (⌥)-Command (⌘)-2on your keyboard or choose Thumbnails from the View menu.

Select the HEIFs within Preview’s sidebar by using your mouse, pressing Command (⌘)-A or choosing the Select All command from the Edit menu.
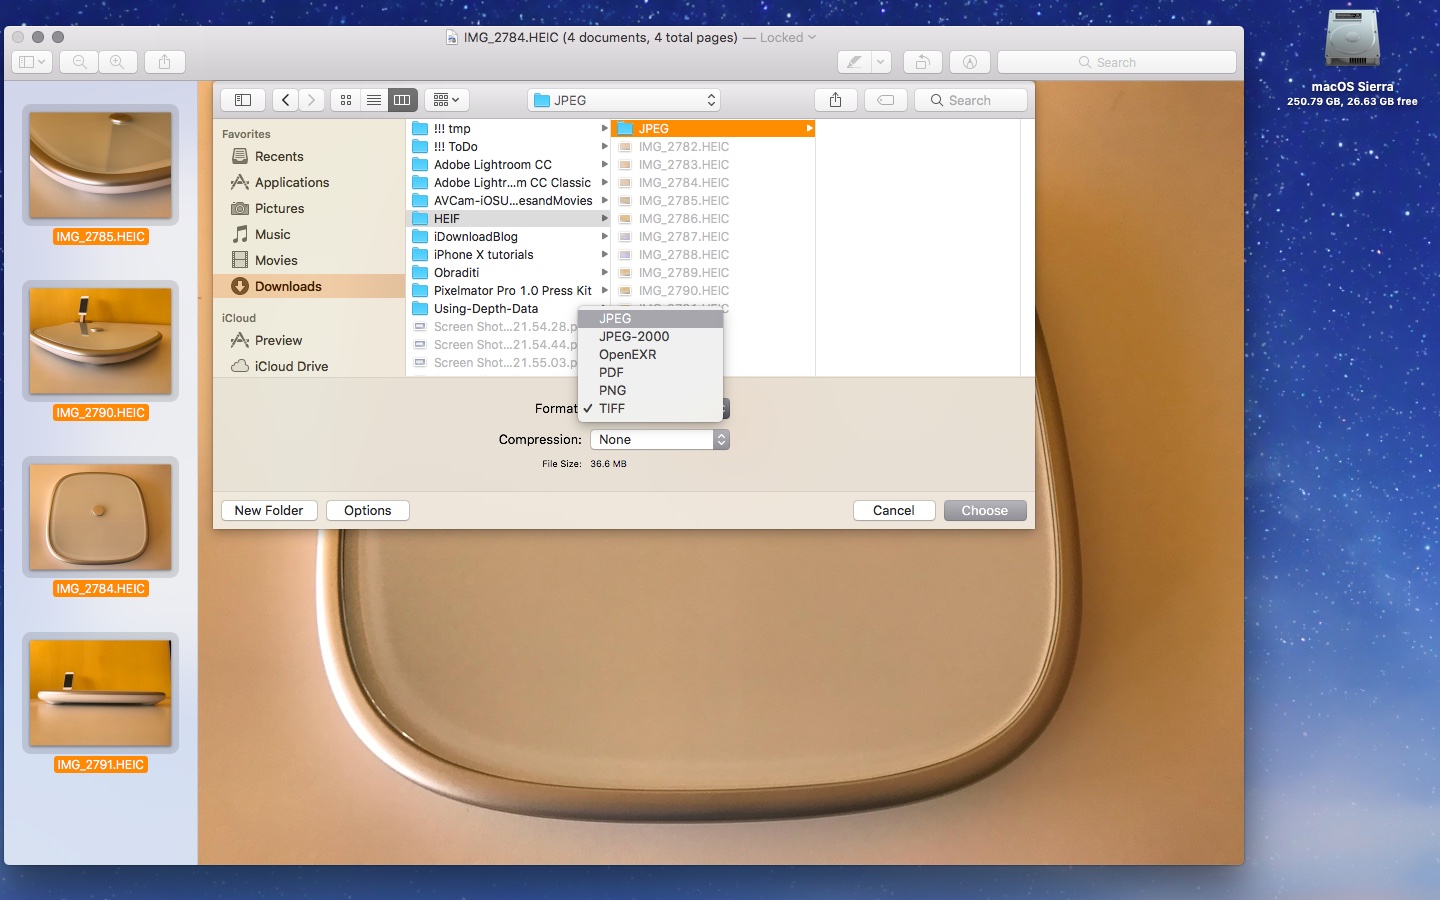
5) Next, choose Export Selected Images from the File menu.

6) Click Options and select JPEG from the Format menu.

7) Finally, click Choose to save the converted JPEG files in the selected folder.

Of course, you can also adjust JPEG compression by dragging the Quality slider or pick any other desired image file format from the Format menu, like TIFF, PNG, PDF and more.
The Preview method is guaranteed to preserve the originals’ EXIF data, creation date, location information, embedded color profile (the P3 Display profile will be preserved when converting wide color images) and so forth, which is a big plus.

Converted JPEGs retain all EXIF data of their HEIF originals.
The usual caveats apply here: it may not make much sense, if any, to convert photos from one lossy format (HEIF) to another one (JPEG). That’s because every time you do that, those pesky compression artifacts will become a tad more pronounced than before.