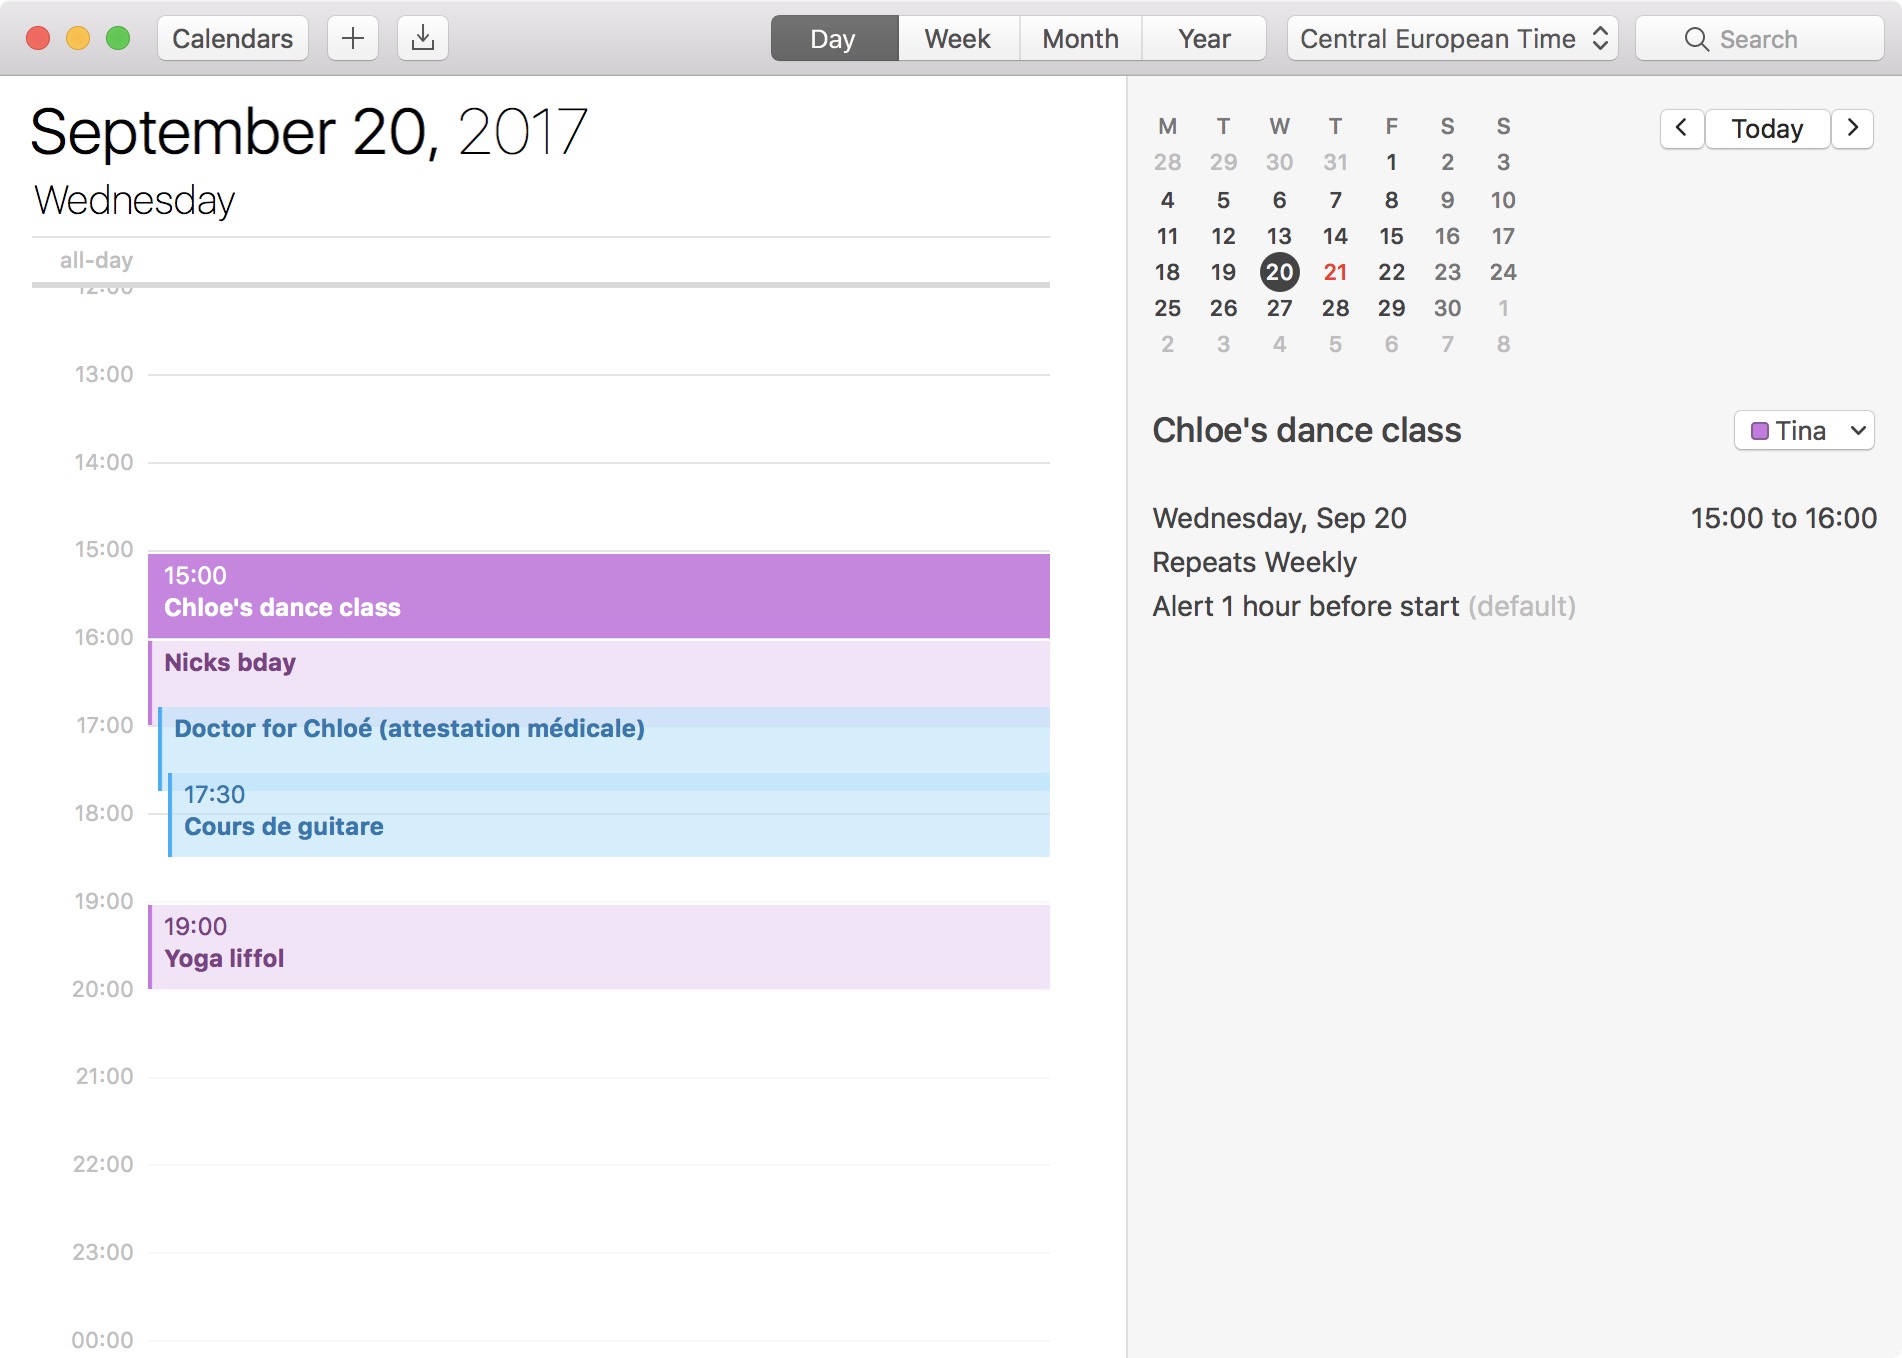
The 24-hour clock is the most commonly used time notation in the world. That is if you’re not living in the US or any of the few countries that sill operate on a 12-hour clock system. Also called military time in the US, 24-hour time format arguably makes more sense than anything else as it divides the day into — you guessed it — 24 hours.
Having grown up in France, the 24-hour clock is deeply engrained in my understanding and reading of time, and it is to this day one of the first settings I adjust as soon as I get a new Apple device such as an iPhone, iPad, or Mac.
If this setting is easily found on iOS in Settings > General > Date & Time, it is a little more obscure on macOS. In this post, I will show you how to change Calendar to 24-hour time format on Mac.
How to get 24-hour time format in Calendar on the Mac
The first time I tried to adjust this setting, my initial reaction was to go into the Preferences panel of the Calendar app. If you have tried that yourself, you’ll know by now this is not where the 24-hour clock setting can be found for Calendar.
My next move was to go to > System Preferences > Date & Time. In here, you’ll find an option to show 24-hour clock, but this option only applies to the clock that is displayed in the upper right corner of the Menu Bar.

But if you want to set the 24-hour time in Calendar, you will have to go to > System Preferences > Language & Region. In there, check the 24-hour time checkbox. Note this will not only turn your Calendar app time to the 24-hour format, but it will also override the time format displayed in the Menu Bar. If your Calendar app is already opened, you might have to quit and launch it again for the new time settings to take effect.
There you have it: real time notation in your Calendar app!