Starting with iOS 11 and macOS High Sierra, Apple’s Messages app provides a useful new cloud-syncing feature, called Messages on iCloud. With it, when you sign in to another new device all of your conversations are automatically synchronized through iCloud and appear automagically in the Messages app on the new device.
Like with iCloud Photo Library, the Messages on iCloud feature keeps your conversations and attachments continually synchronized across your iPhone, iPad, iPod touch and Mac devices in a manner that helps preserve storage.
With Messages on iCloud, deleting an embarrassing message you don’t want in your transcript on one device automatically removes it from all the other devices you own, and vice versa.
Here’s how to set up and use Messages on iCloud.
Before we get to it, Messages on iCloud requires:
- iPhone, iPad or iPod touch with iOS 11 or later
- Mac with macOS High Sierra or later
The feature is not directly supported on Apple Watch.
The benefits to using Messages on iCloud
As mentioned, this feature saves your entire message history in iCloud, so all your conversations and attachments are available when you sign in to Messages on a new device.
Messages caches the most recent chats on the device and older ones are loaded on demand from iCloud. This lets you save space on your iPhone, iPad, iPod touch and Mac.
Messages on iCloud also makes for smaller and faster iCloud backups.
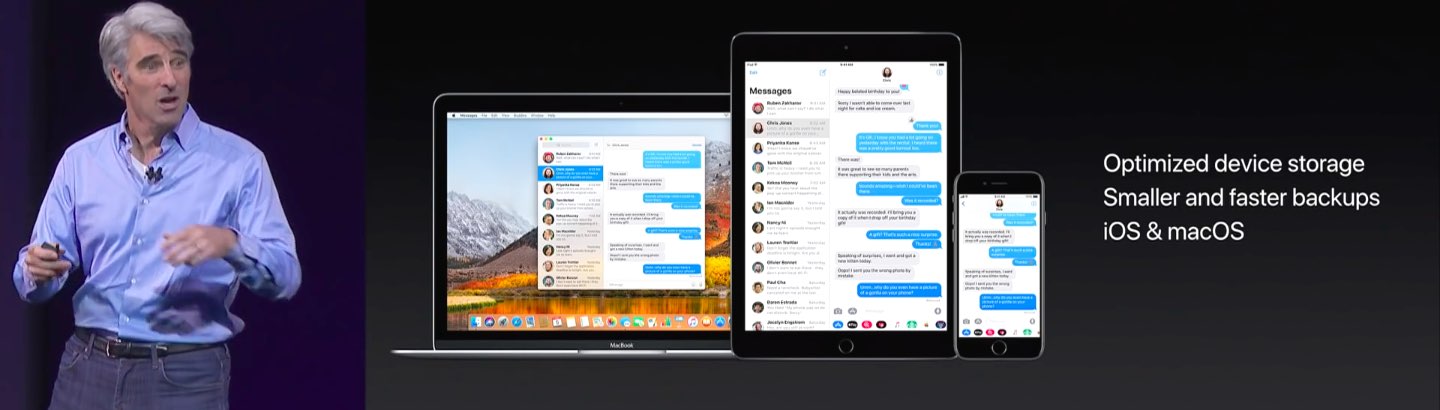
That’s because the Messages database is not included in your iOS device backup in iCloud since it’s already there. Perhaps most importantly, Messages on iCloud helps you keep the size of the Messages database on your device under control.
Messages is notorious for keeping deleted messages in its database—chats and attachments are simply marked for deletion, which lets iOS optimize the Messages database when storage is low. It is not uncommon for Messages to store years worth of saved and deleted chats on your device, with no way to manually slim down its database without jailbreaking.
With Messages on iCloud, those storage issues become a thing of the past.
As a bonus, should you ever lose your iPhone or accidentally wipe out everything, simply sign in on your new device and all your chats are loaded from iCloud.
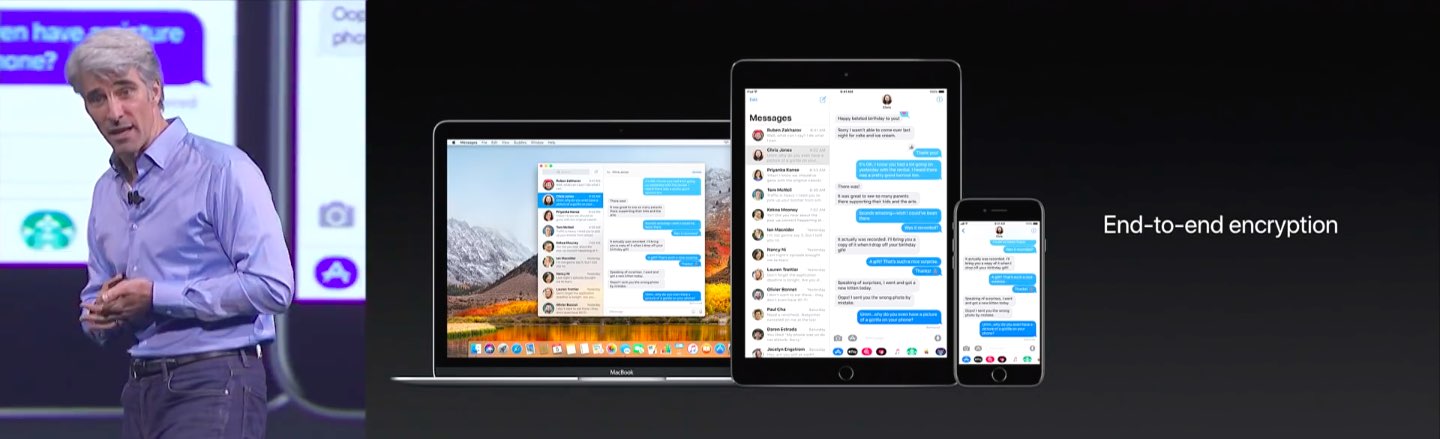
Best of all, you don’t have to give up your privacy and security when using this feature: with Messages on iCloud, all your chats are end-to-end encrypted, just like before.
How to enable Messages on iCloud
You must enable the feature separately on every iPhone, iPad, iPod touch or Mac you own.
iPhone and iPad:
1) Launch Settings on your iOS device.
2) Tap Messages.
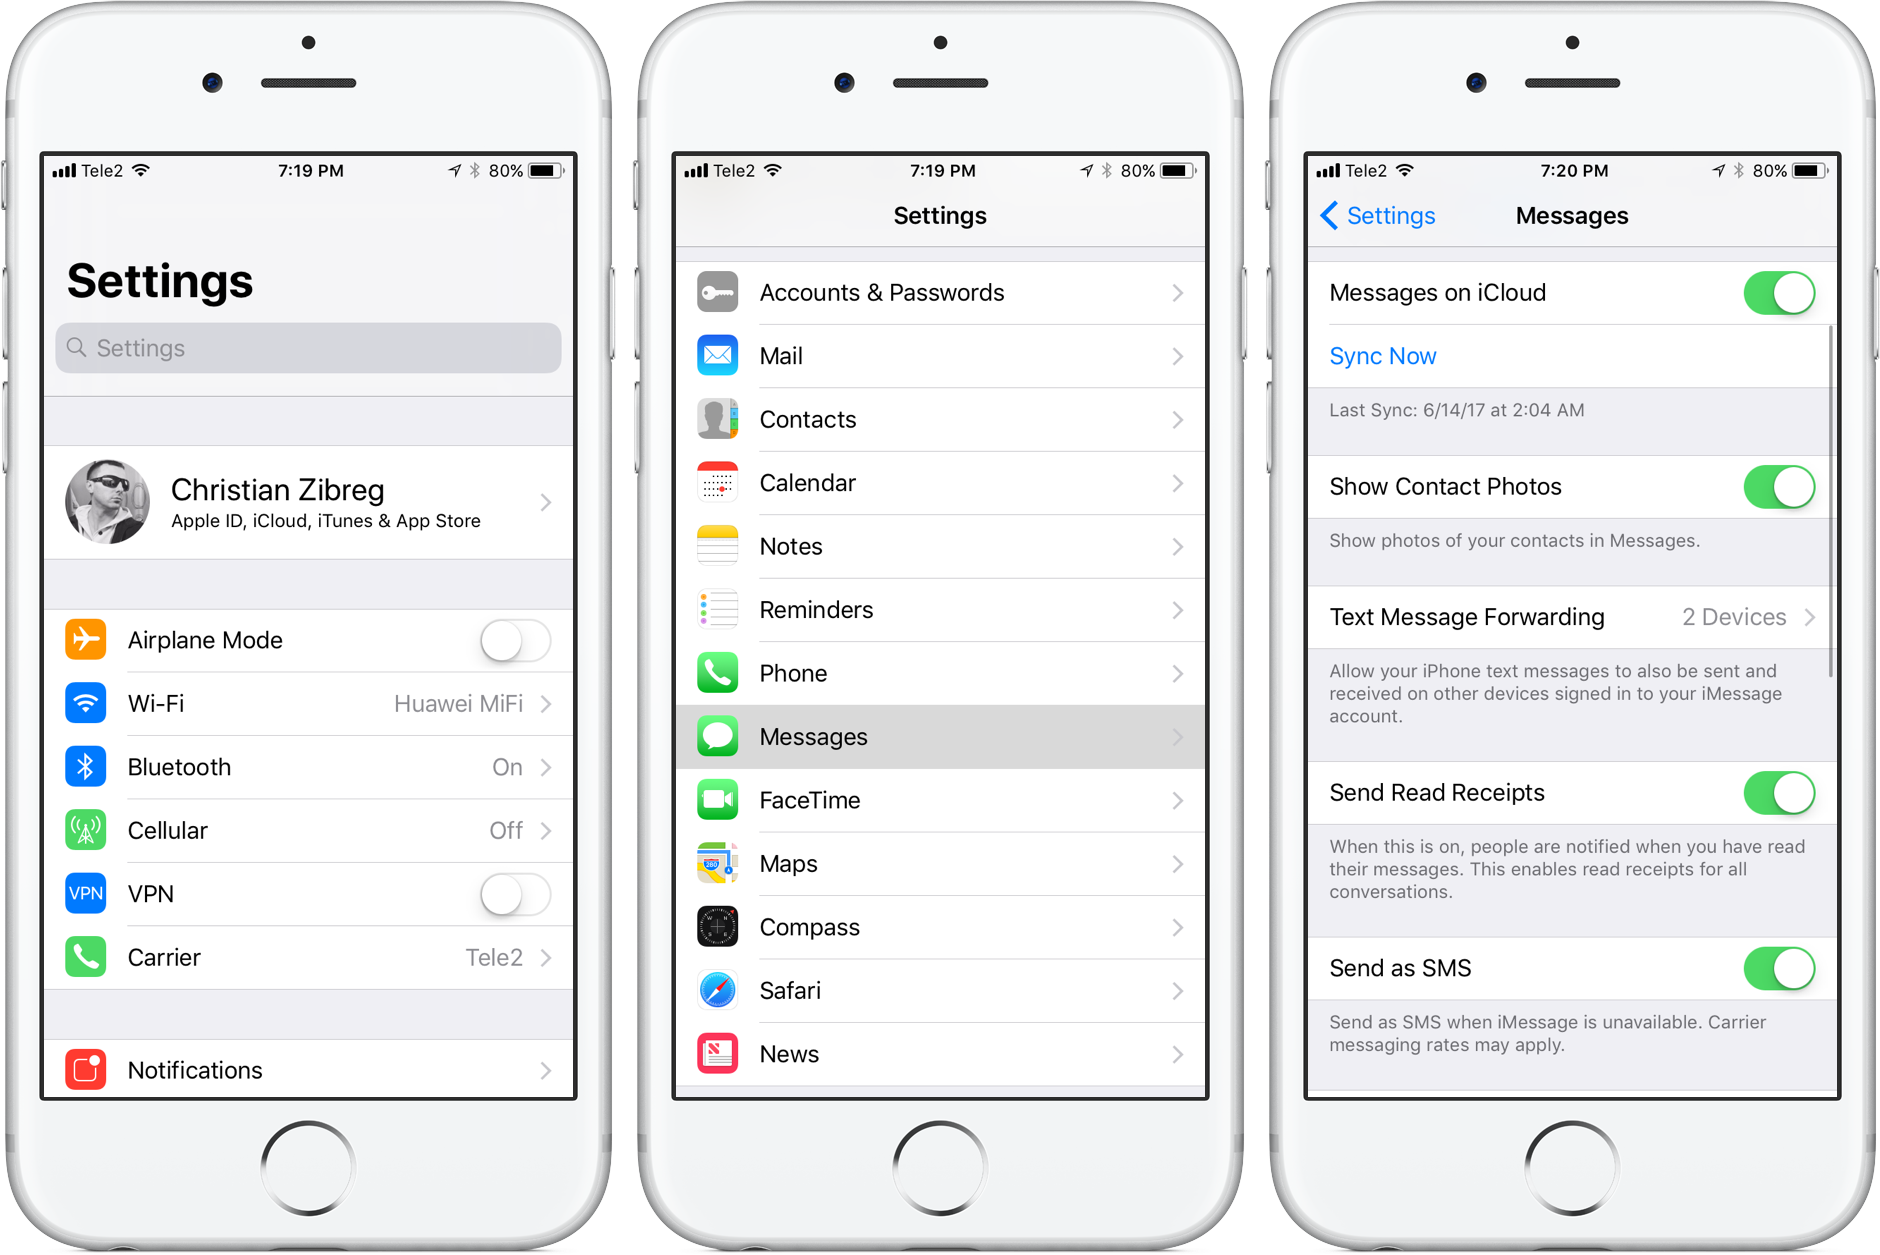
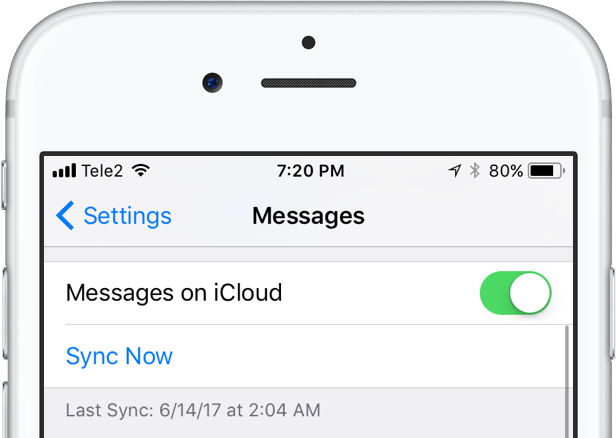
3) Slide the switch Messages on iCloud to the ON position.
The first time you turn this feature on, your device will need to upload the Messages database to iCloud. Depending on the number of chats and attachments you have in Messages, this may take anywhere between a few seconds to a couple of minutes or more.
Mac:
1) Launch Messages on your Mac.
2) Choose Preferences from the Messages menu.
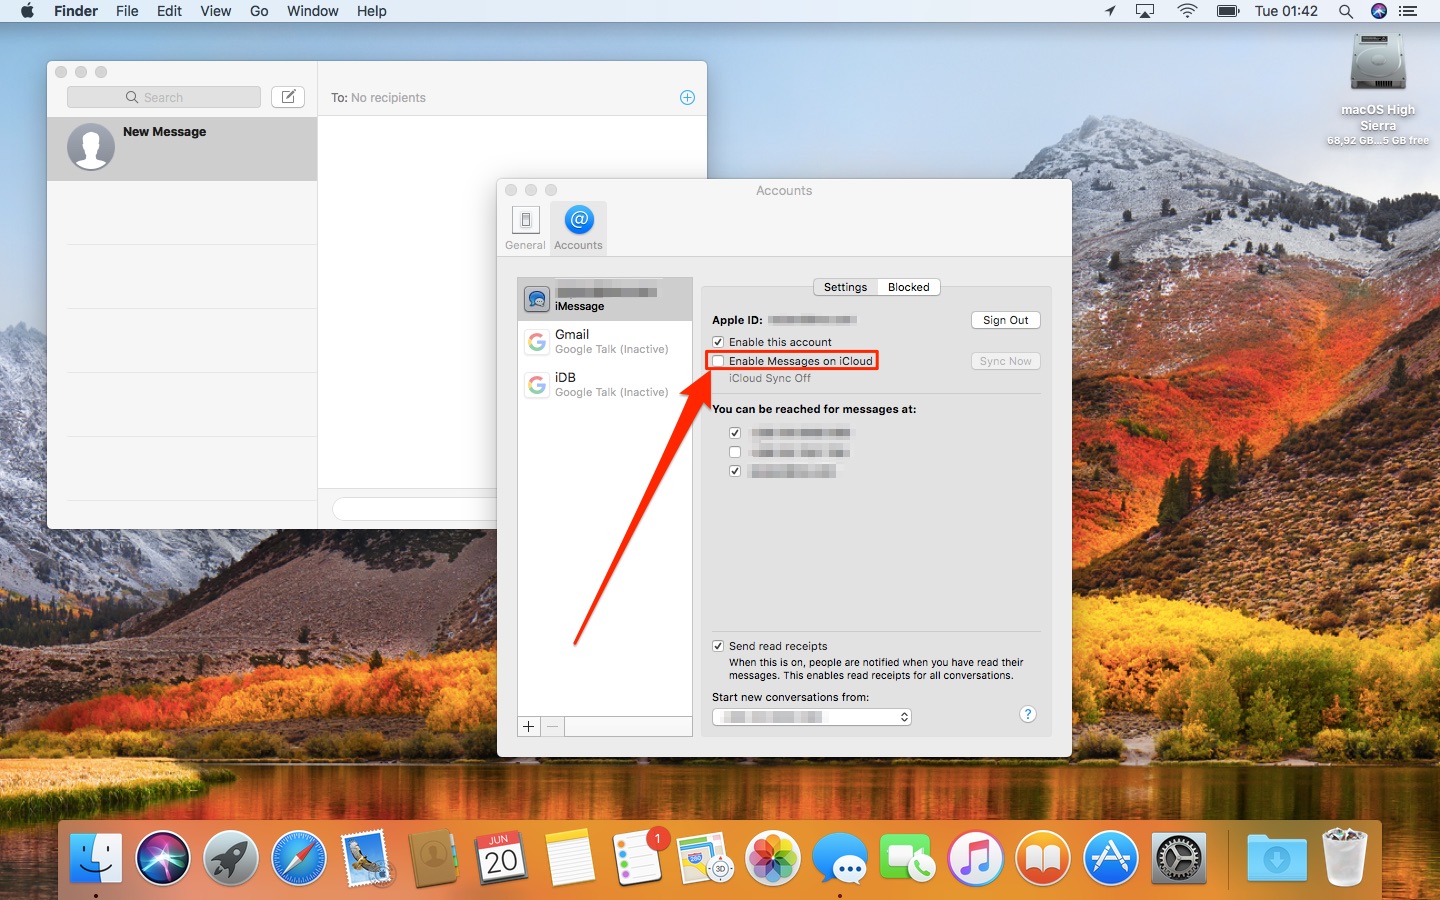
3) Click the Accounts tab in the Messages preferences window.
4) Select your iMessage account from the list on the lefthand side, then tick the box next to “Enable this account” if it hasn’t been turned on already.
5) Now tick the box next to “Enable Messages on iCloud”.
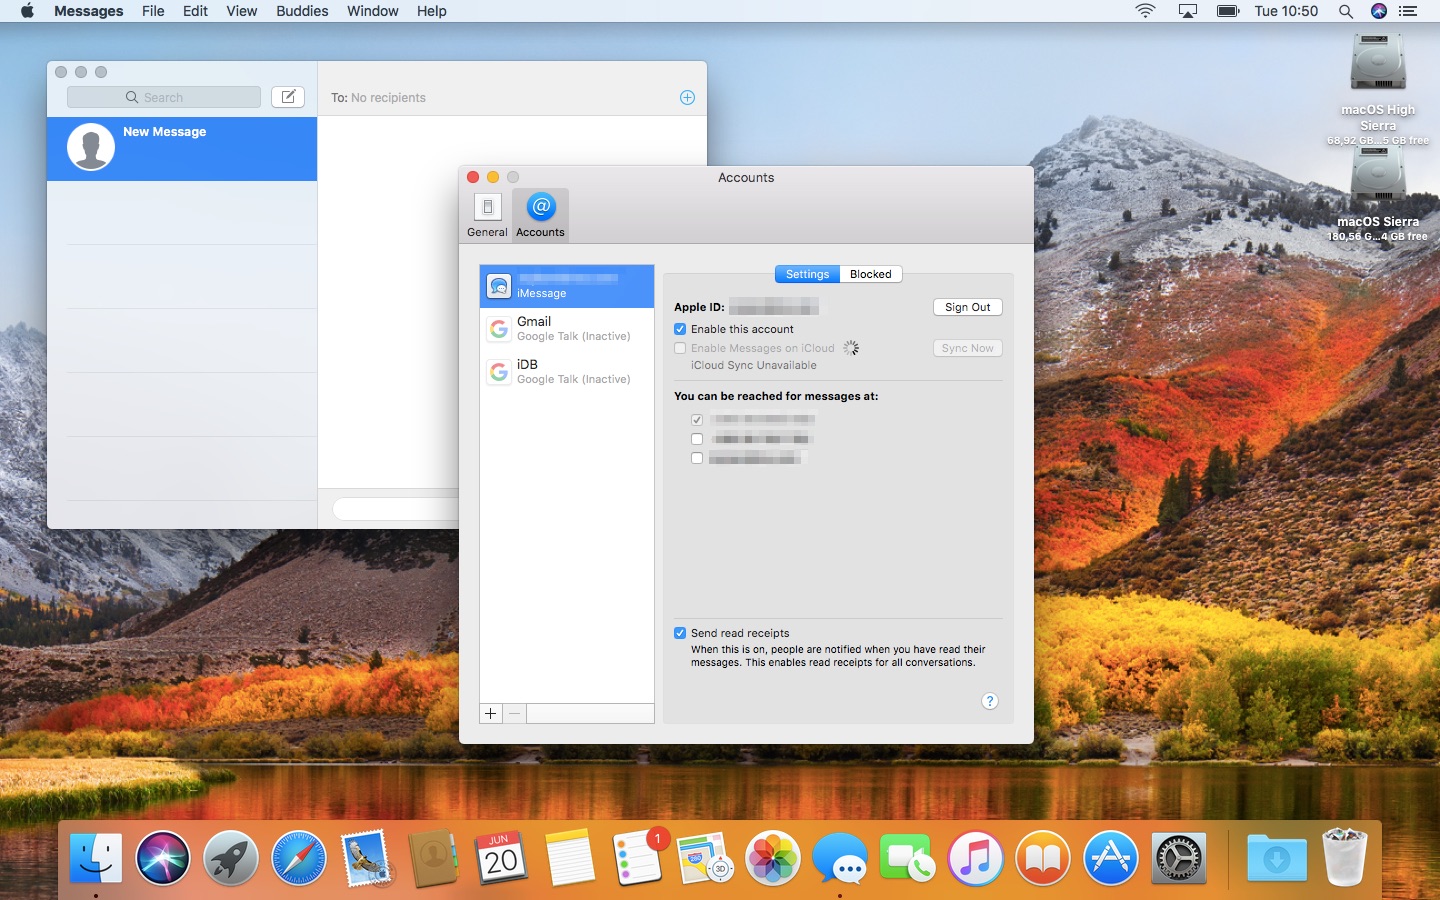
Messages will start downloading your chat archive from iCloud, which may take a while depending on the number of conversations and saved attachments in your account.
If the Messages on iCloud is already enabled on your other iPhone, iPad, iPod touch or Mac, Messages may put up a prompt offering to enable it on this Mac, and vice versa.
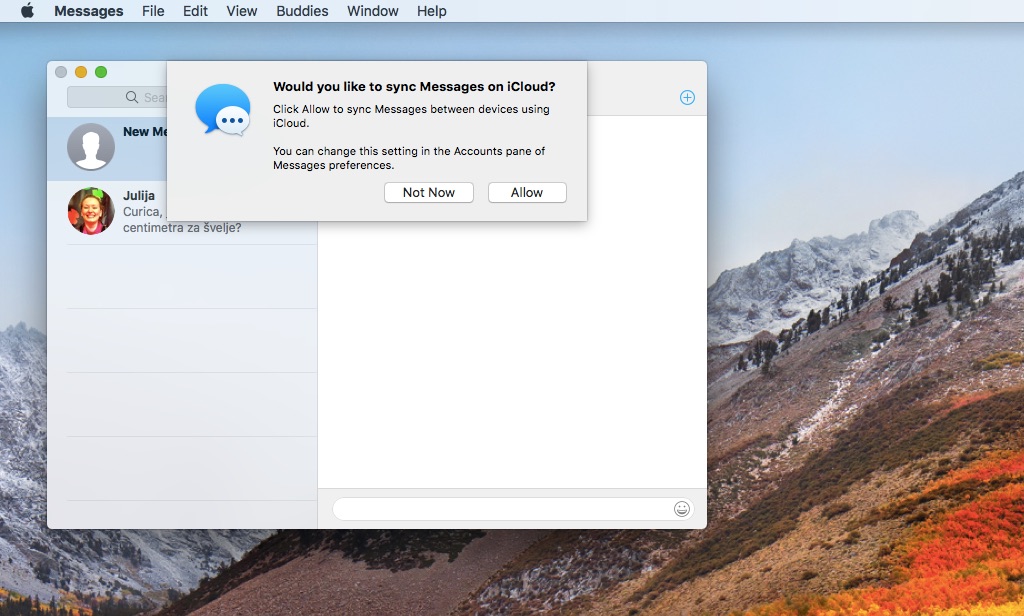
If so, a single click on the Allow button is all it takes to enable Messages on iCloud.
How to manually force-sync Messages to iCloud
Before turning off Messages on iCloud for all of your devices, it may be a good idea to force the Messages app to perform one final sync with iCloud.
iPhone and iPad:
1) Launch Settings on your iOS device.
2) Tap Messages.
3) Tap the link “Sync Now” underneath the Messages on iCloud switch.
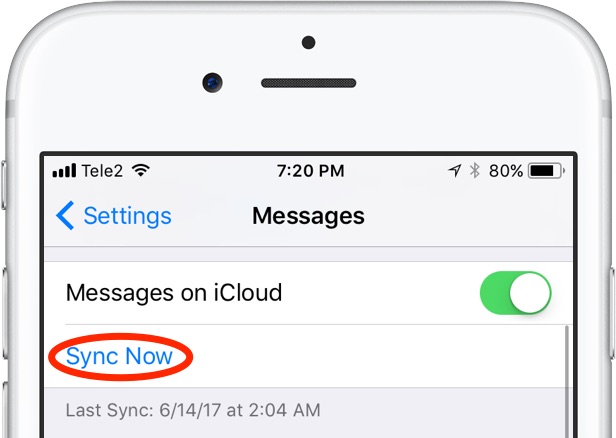
NOTE: The date and time of the last sync are shown underneath the “Sync Now” link.
This will ensure you have an up to date Messages database in iCloud, which may come in handy if you lose your device or accidentally wipe out everything.
If you don’t have Messages on iCloud enabled, you won’t see this option.
How to disable Messages on iCloud
You can disable Messages on iCloud for your current device only or have it turned off at once across all iPhone, iPad, iPod touch and Mac devices that have it enabled.
iPhone and iPad:
1) Launch Settings on your iOS device.
2) Tap Messages.
3) Slide the switch Messages on iCloud to the OFF position.
A prompt asks if you’d like to turn the feature off for just this device or all of your devices.
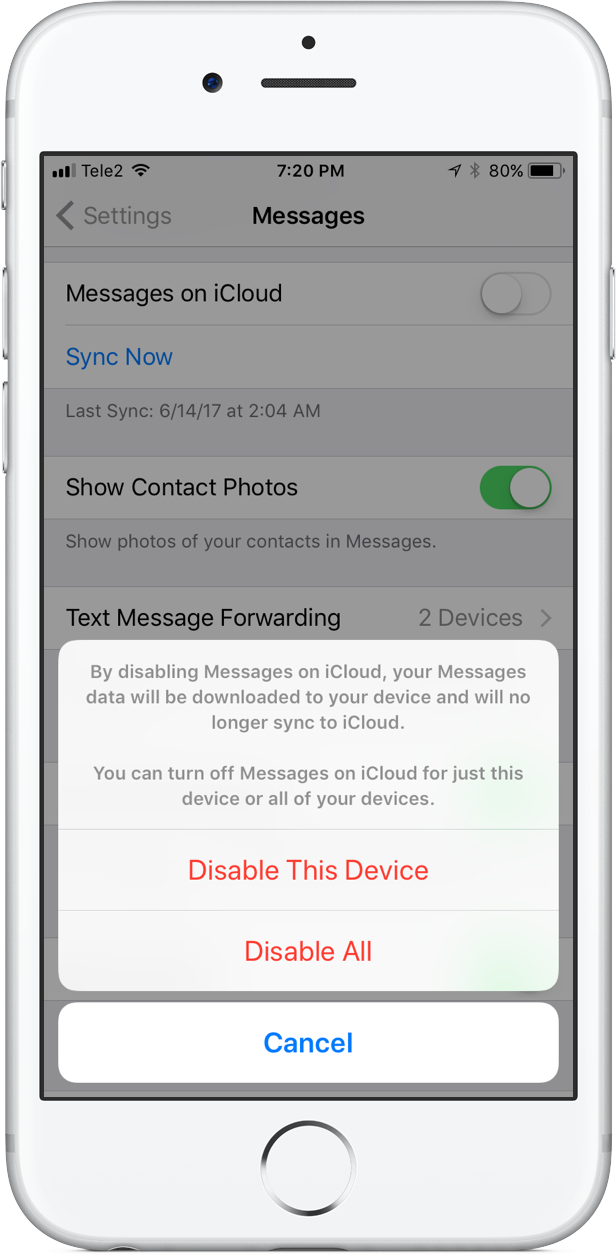
Choose what you’d like to do:
- Disable This Device—Disables Messages on iCloud for just this device.
- Disable All—Disables Messages on iCloud for all of your devices.
Choose either option or tap Cancel to abort the operation.
Turning the feature off prompts your device to download the most recent Messages data. “By disabling Messages on iCloud, your Messages data will be downloaded to your device and will no longer sync to iCloud,” reads the feature’s description.
As mentioned before, it’s a good idea to manually force the Messages app to sync with iCloud before disabling this feature. The date and time of the most recent sync are displayed underneath the “Sync Now” link in Settings → Messages on your iPhone, iPad or iPod touch and in the Messages preferences window on your Mac.
Mac:
1) Launch Messages on your Mac.
2) Choose Preferences from the Messages menu.
3) Click the Accounts tab in the Messages preferences window
4) Untick the box next to “Enable Messages on iCloud” to turn the feature off.
If Messages on iCloud is active on other devices, your Mac will ask if you’d like to disable the feature for just this computer or for all your devices.