
Instagram’s mobile app is pretty decent, but sometimes you just wanna quickly post a photo without having the app unnecessarily eat into precious cellular data by refreshing content in your feed. While you can always send images and videos from other apps to Instagram via its extension in iOS’s multi-purpose Share sheets, you can do upload images to Instagram through the web, too.
This tutorial provides step-by-step instructions explaining how to upload your photographs to Instagram using the mobile web interface, no app needed whatsoever.
Before we get to it, we should point out that you cannot take or upload photos from Instagram’s web interface on a desktop computer. Only Instagram’s mobile web interface allows you to do that.
How to post images to Instagram using mobile web interface
1) On your iPhone, iPad or iPod touch, visit instagram.com in Safari, Chrome or another browser of your choice, then log in with Facebook or your Instagram account credentials.
2) Tap the Camera button at the bottom.

TIP: If you don’t see the tab area at the bottom of the webpage, try scrolling the page or reloading it.
3) A menu pops up with several options allowing you to take a new photo, choose an existing image from your Photos library or upload an image from one of the cloud-storage services with a Document Provider extension for iOS.
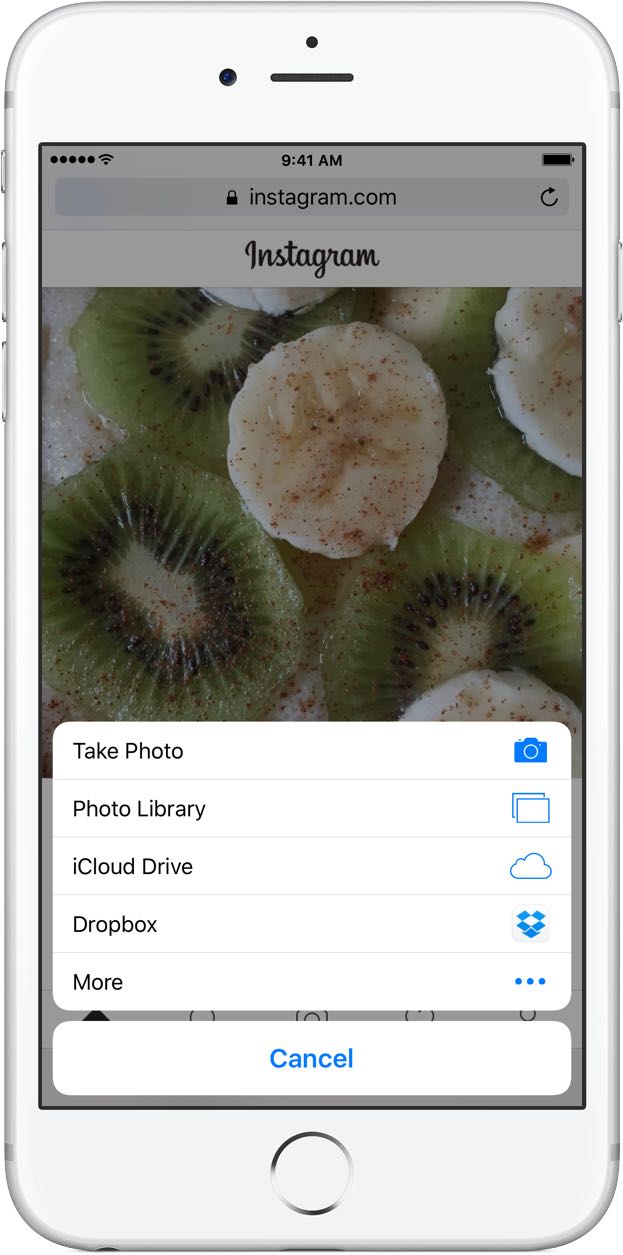
The following two options are always available:
- Take Photo—Choose this if you’d like to take a photo using your iPhone’s camera. After taking a photo, tap Use Photo to create a new Instagram post or Retake to discard the image and take another one.
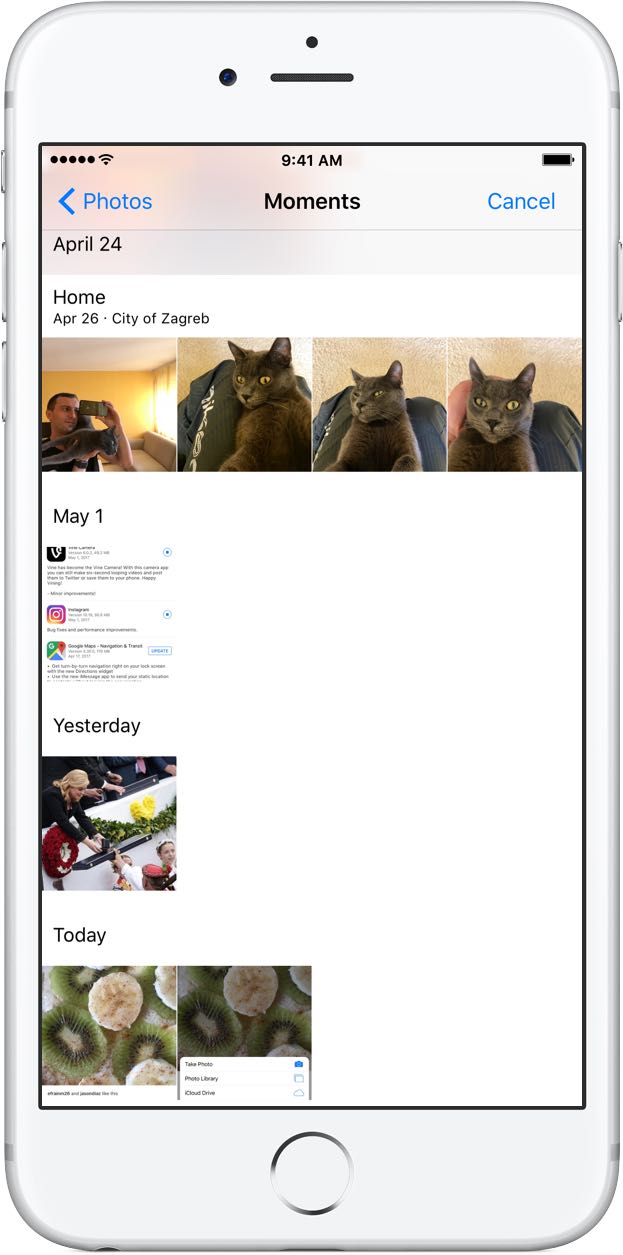
- Photo Library—This option will pull up the Photos browser. Navigate your way through the albums, then tap a photo to select it.
As mentioned, other local and online storage services may appear in this menu, such as Dropbox, OneDrive, Google Drive and others, as long as their client apps are installed on your device and support iOS’s Document Provider extension.
To cherry-pick which of the available services shall appear in this menu, tap More, then enable or disable the individual services and tap Done to save the changes.
4) Preview your photo to make sure everything looks OK, then tap Next to continue.

To rotate the image counter-clockwise, tap the icon in the lower-right corner. To switch between landscape and portrait image orientation, tap the icon in the lower-left corner. To stop creating a new Instagram post, tap the “x” in the upper-left corner.
5) Write a caption for your image, if you like.

You can use #hashtags and @usernames in captions like you normally would.
6) Tap Share in the upper-right corner to finish adding the post and publish it on Instagram.
Instagram’s filters and other creative tools and advanced functions are unavailable when posting images through its mobile web interface. If you prefer using Instagram’s filters and other built-in tools over Apple’s Photos app to touch up your photos before posting them on the service, use the mobile Instagram app.